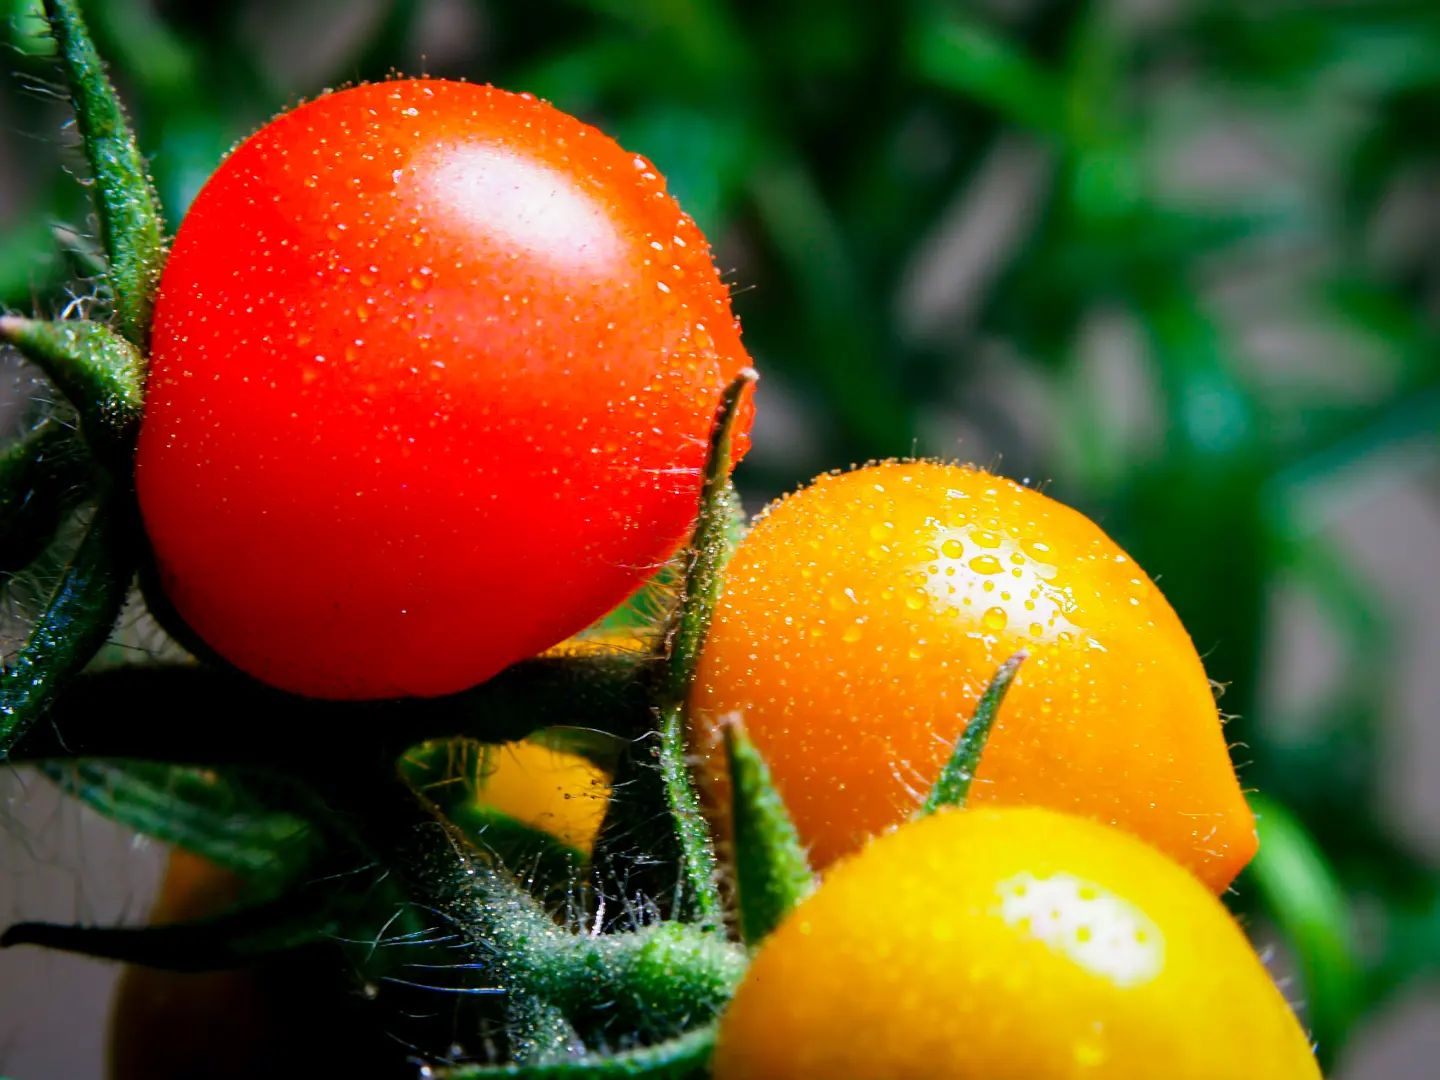
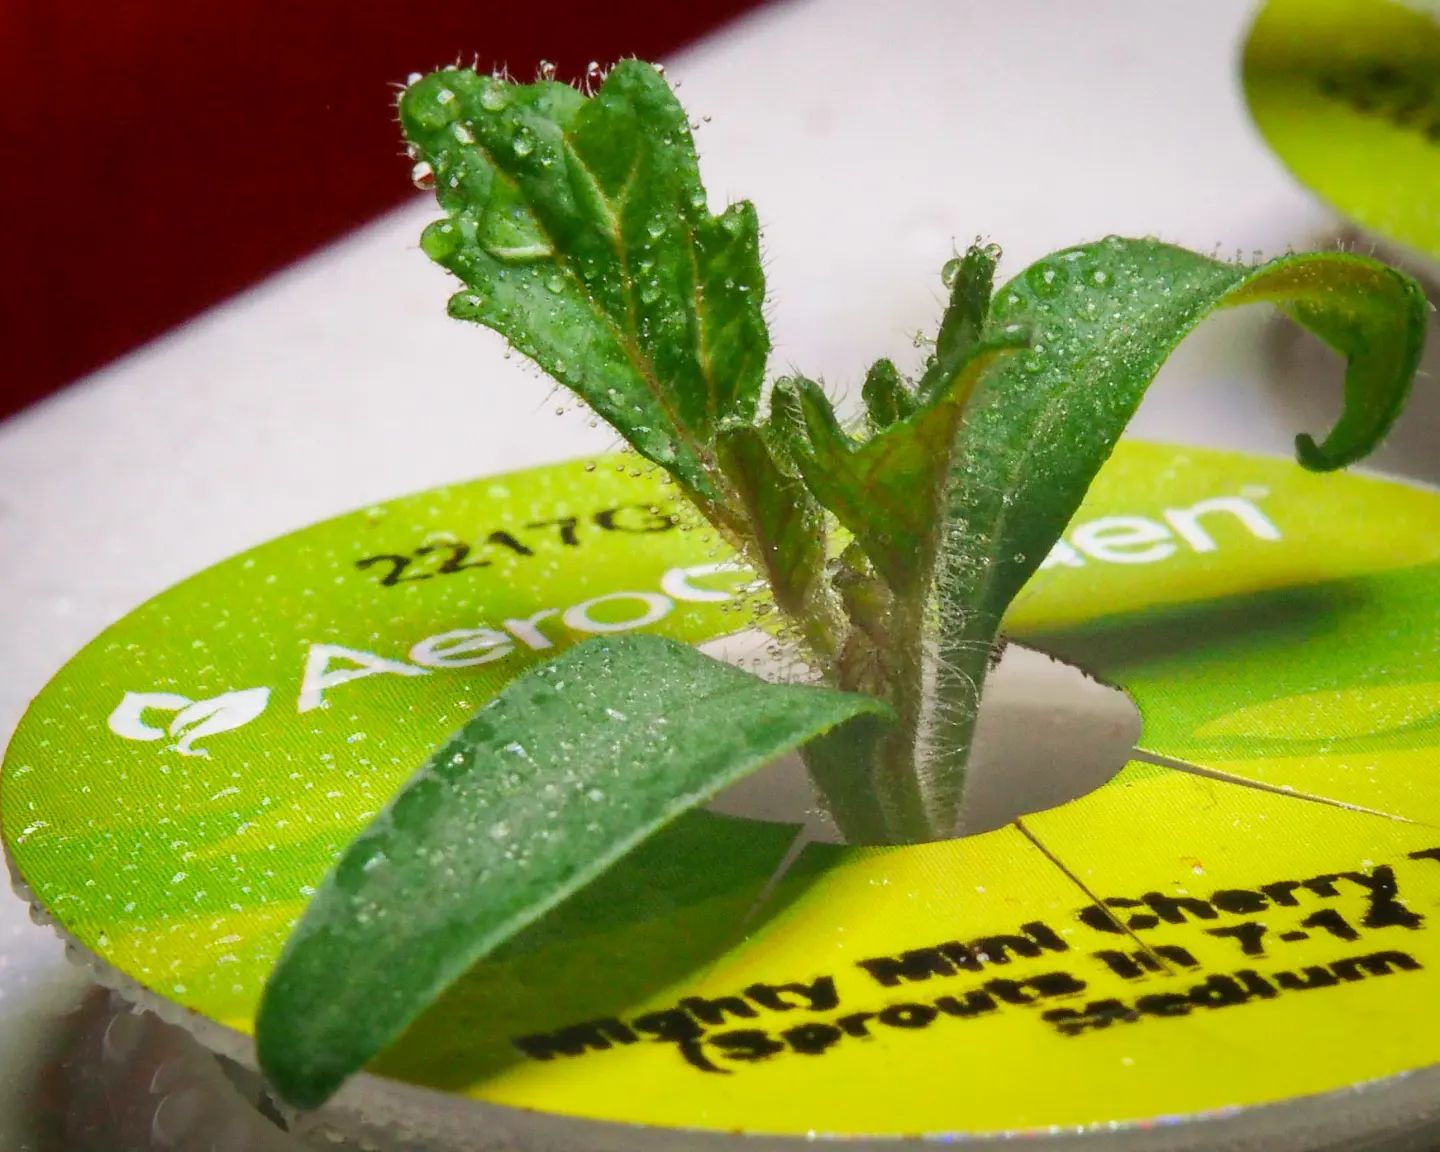
Cherry tomatoes 🍅
Shot on Olympus E-m10 Mark II camera with 40-150mm lens and 26mm extension tube
Shot on Olympus E-m10 Mark II camera with 40-150mm lens and 26mm extension tube
A few flowers have started developing into tomatoes!
Shot on Olympus E-m10 Mark II camera with 40-150mm lens and 26mm extension tube
#MacroPhotography #gardening #AeroGarden #plants #flowers #tomatoes #em10mark2 #40150mm
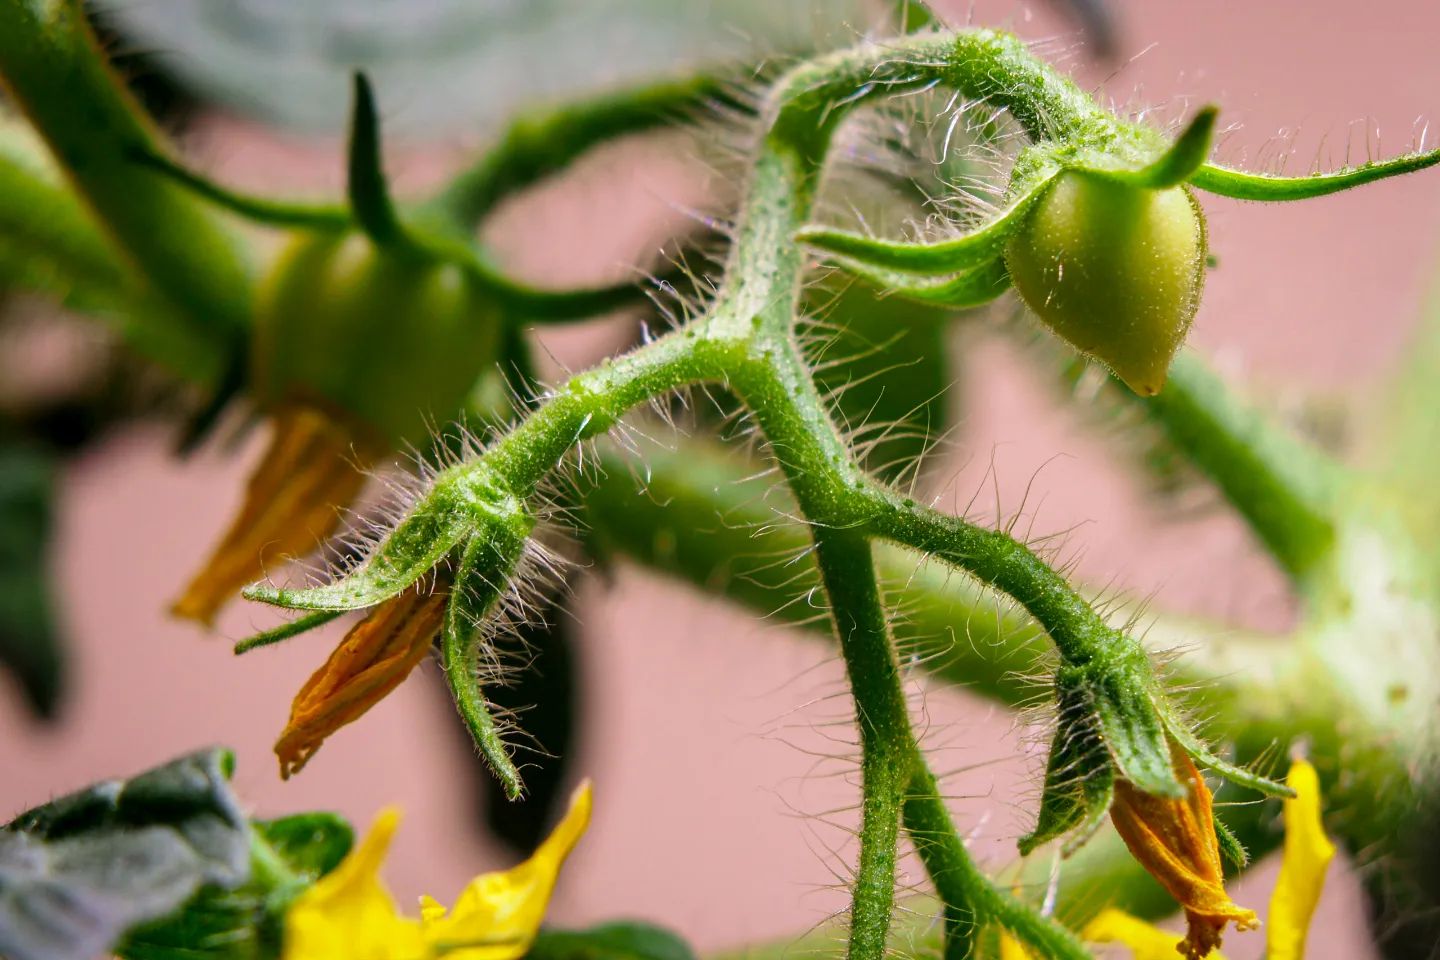
Soon it will be time to pollinate them. 🐝🌼
Shot on Olympus E-m10 Mark II camera with 40-150mm lens and 26mm extension tube
#MacroPhotography #gardening #AeroGarden #plants #flowers #tomatoes #rosemary #em10mark2 #40150mm

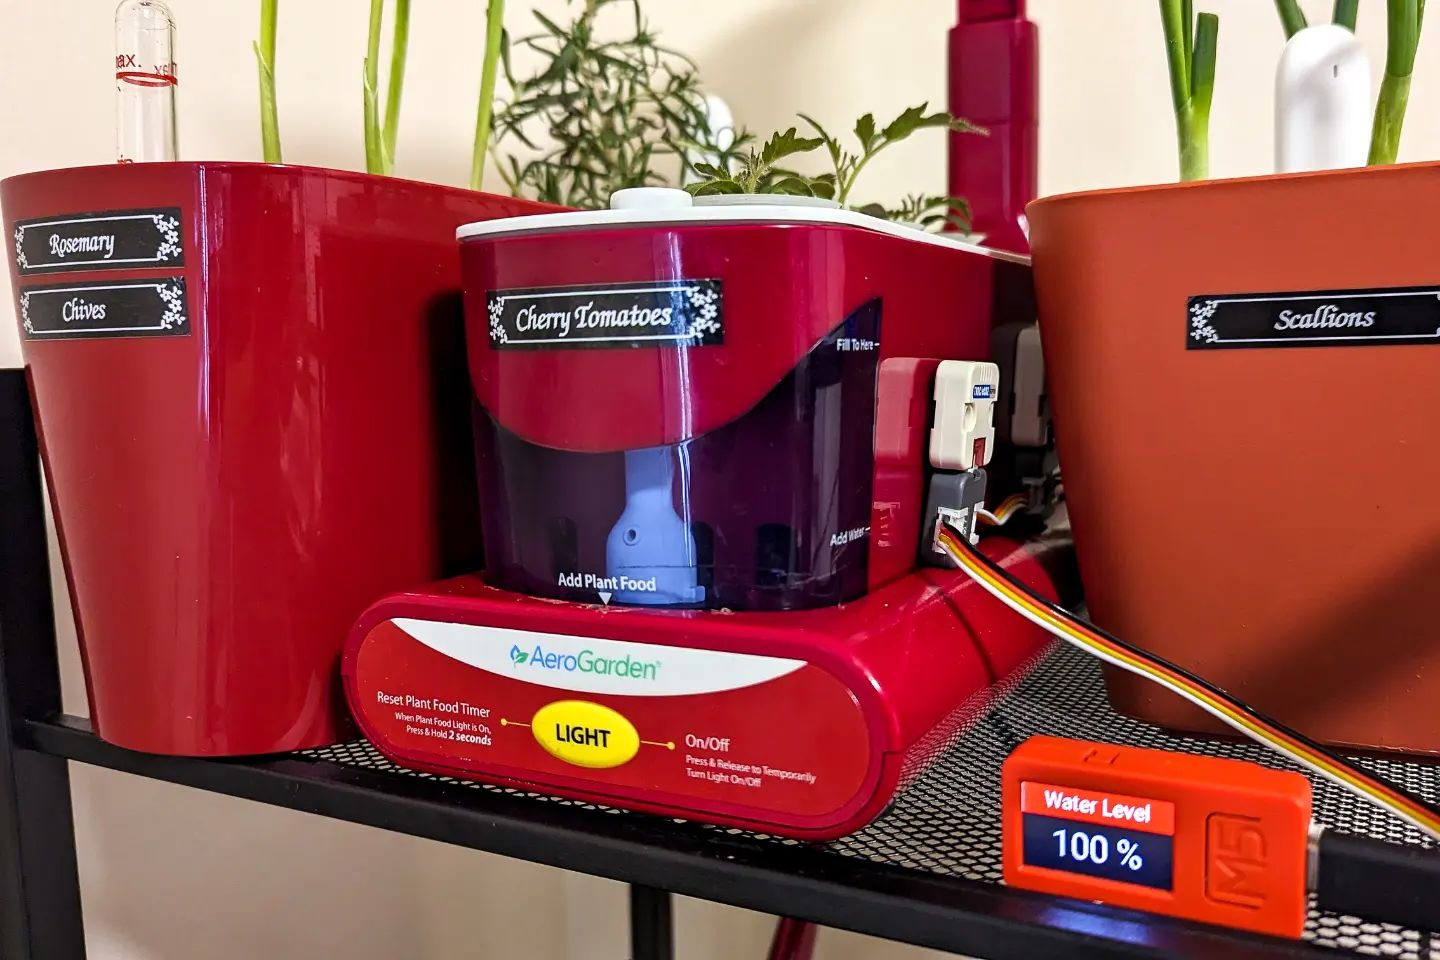
Last weekend I mounted an @adafruit VL6180X distance sensor underneath the grow platform. It uses a laser to measure how far away the surface of the water is, and then I subtract that from the height to determine how full the tank is.
I previously tried this with a RCWL-9620 ultrasonic distance sensor, however condensation would start to build up on the speaker grills and produce inaccurate readings. Hopefully the laser will be more accurate in this environment!
I’ve also started to use the built-in status LED to indicate when it’s time to add nutrients and when the water level is low.
#project #projects #gardening #AeroGarden #microcontroller #esp32 #ESPHome #HomeAssistant
Shot on Olympus E-m10 Mark II camera with 40-150mm lens and 10mm extension tube
#gardening #plants #em10mark2 #40150mm
Shot on Olympus E-m10 Mark II camera with 40-150mm lens and 26mm extension tube
#macrophotography #gardening #AeroGarden #plants #em10mark2 #40150mm
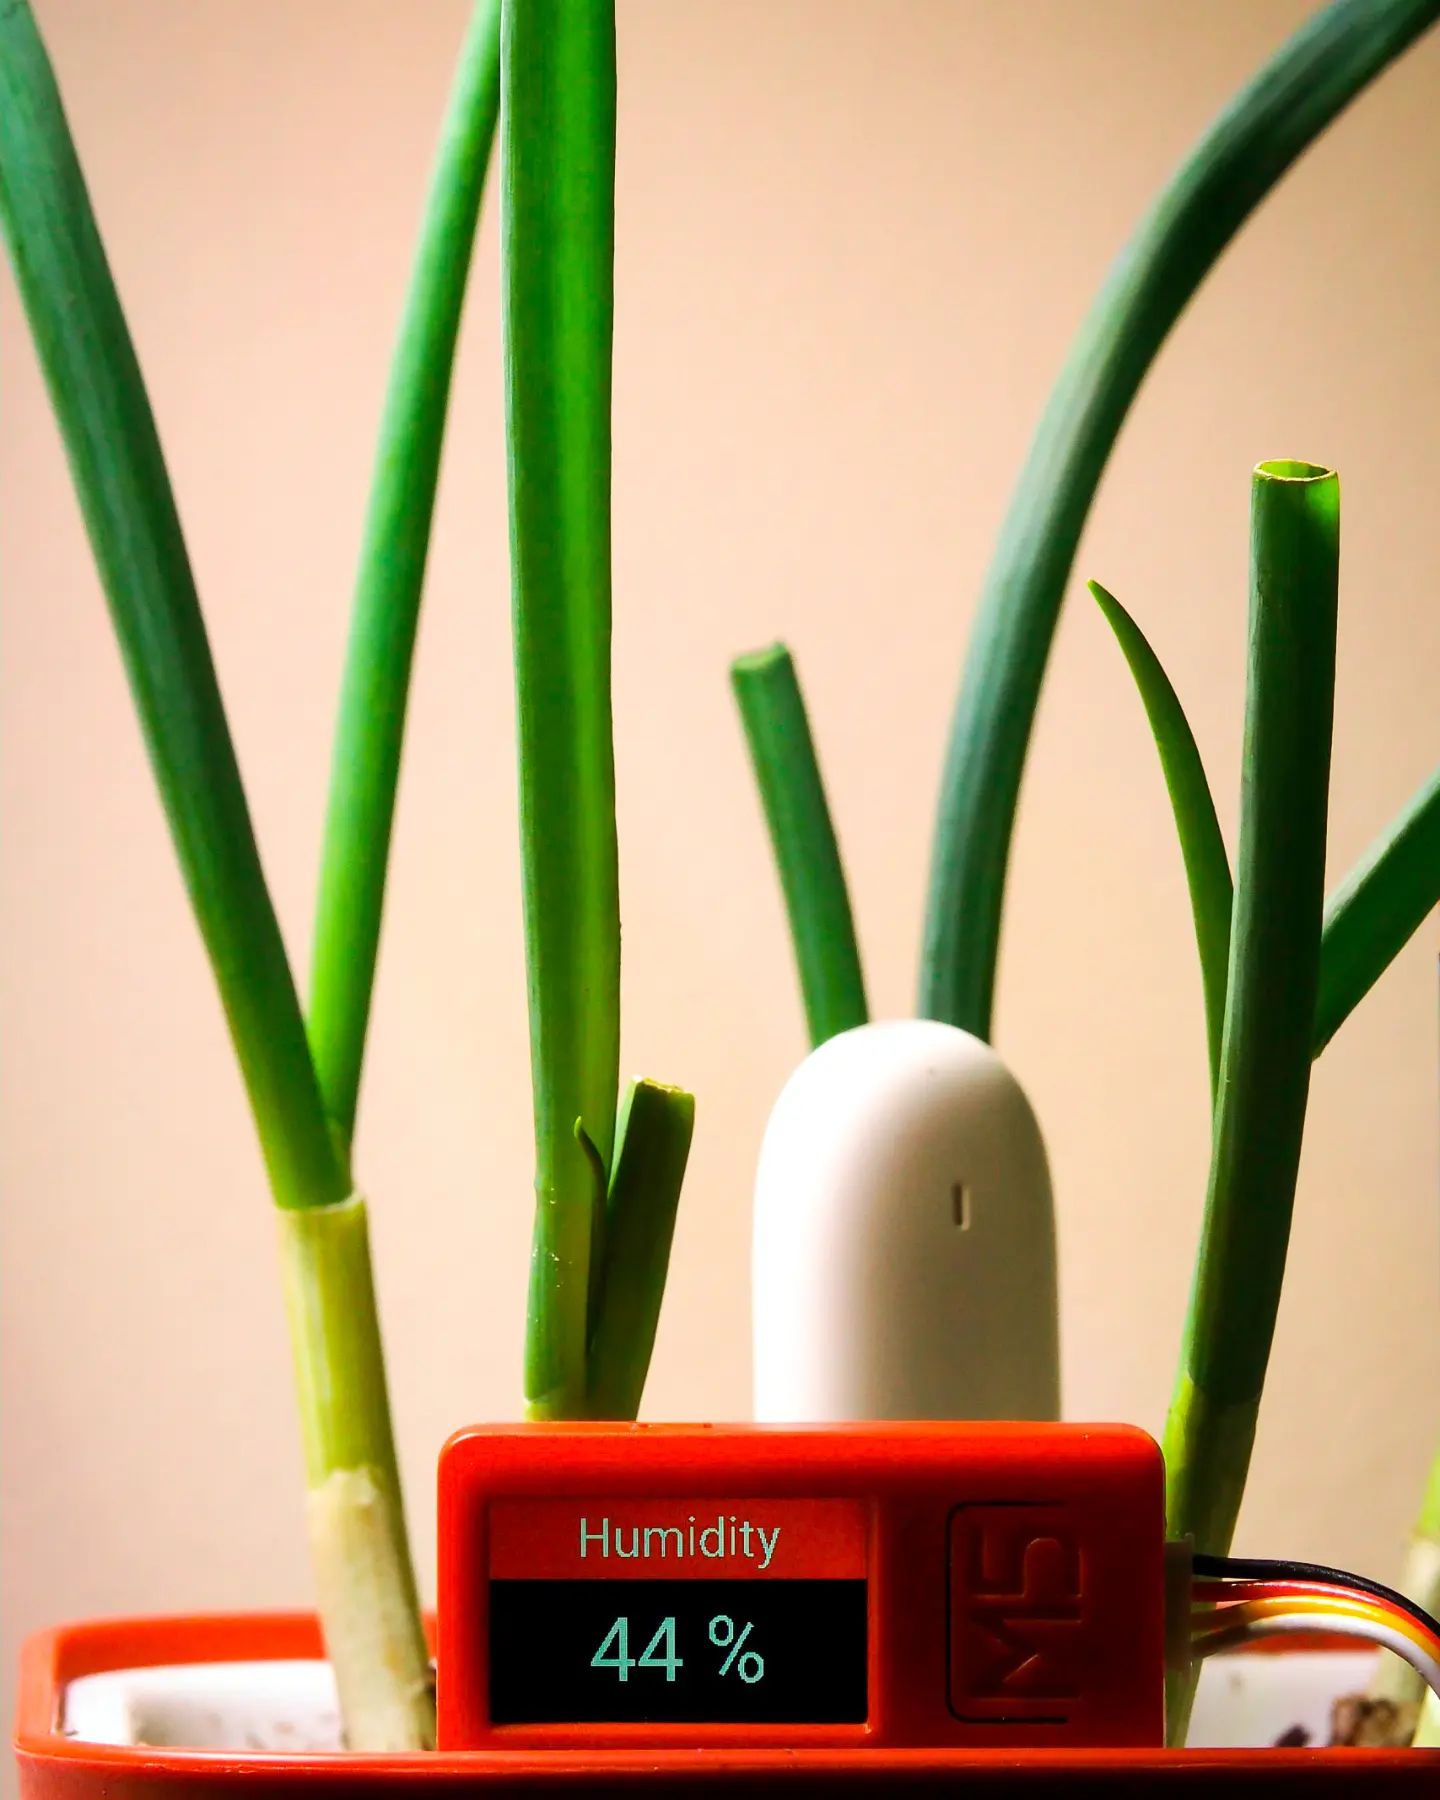
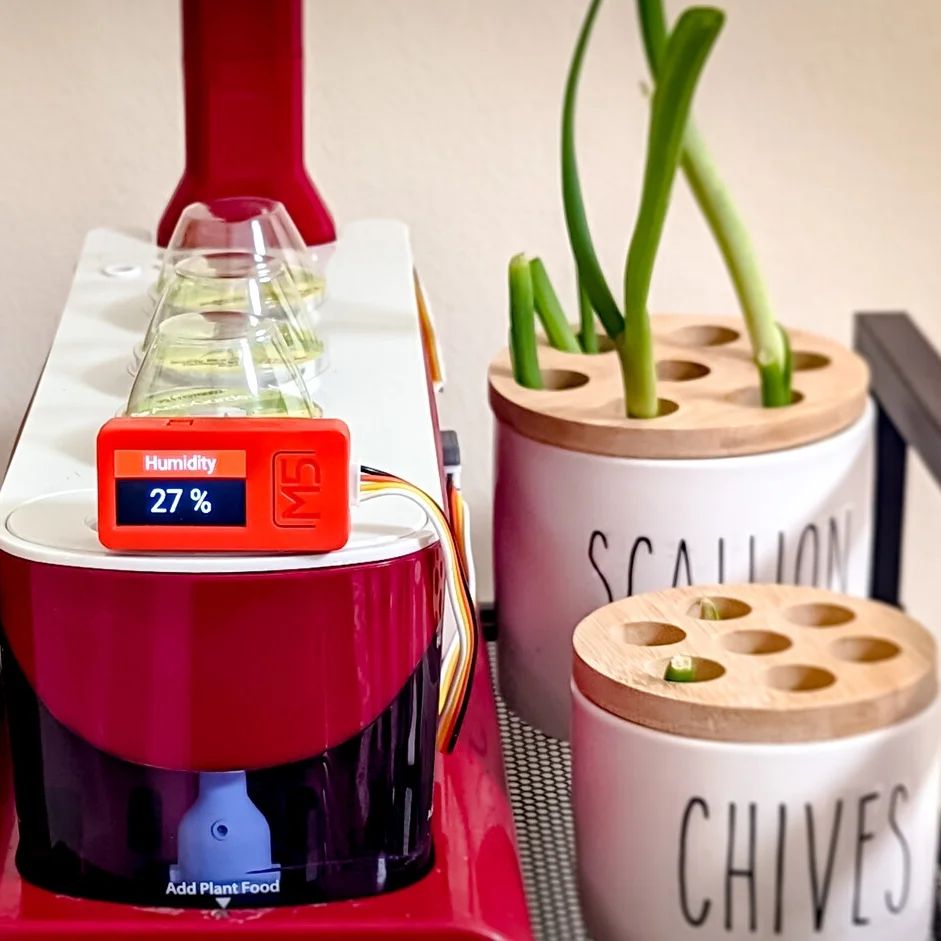
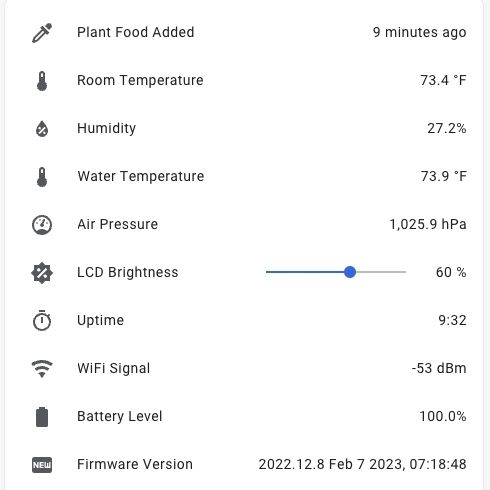
Over the weekend, I converted my garden monitoring microcontroller from #MicroPython to #ESPHome.
The controller is a M5StickC-Plus with temperature, humidity, air pressure sensors, and IR thermometer attached via I²C. The button on the front records the timestamp when plant food is added. #HomeAssistant adjusts the LCD backlight automatically using a nearby Zigbee motion sensor.
Firmware is on Github: https://github.com/c99koder/m5stickc-aerogarden
ESPHome makes it much easier to add additional sensors in the future, I’ve already got a few ideas already! I was hoping it could work as a Bluetooth proxy for #HomeAssistant too, however the device doesn’t have enough RAM to run the display, WiFi, and Bluetooth scanner at the same time.
#gardening #microcontroller #esp32
One of the coolest things announced at this year’s Google I/O was the Android Open Accessory Kit, which allows Android devices to interact with accessories over USB. As an attendee, I received the Arduino-based ADK DemoKit board, which I’ve used to build an app to monitor my Aerogarden.

The garden monitor project was built with the following components:
The force sensing resistor is mounted below the Aerogarden’s water tank to measure the weight of the water, and the servo is used to open and close the tank door.

The Arduino firmware reads the values from the temperature, humidity, and force sensors and sends them to the attached Android device over USB using the Open Accessory protocol. It also accepts commands over USB from the Android app to open and close the door.
The Android app reads the sensor data from the Arduino and broadcasts them over the wifi network using xPL so they can be monitored by MisterHouse, which can alert me via email and text-to-speech when the water level is low. When the water level is below 20%, the app signals the Arduino to open the door as a visual indicator that the tank needs to be refilled. After the tank is filled, the app automatically closes the door again. The app also snaps a photo every hour, which I’ve used to create the time lapse video below.
The source code for the Arduino sketch and the Android app are available on github.
This video was created by combining the hourly snapshots taken by the Nexus One using ffmpeg and then edited in iMovie ’09.